How To Burn A Candle
At The Attic on Eighth, we thrive on the comfort of small pleasures. A good cup of coffee, a curated book shelf, a walk through the park. As we grow individually, we share these pleasures, and how to achieve them, with each other and now with you. After all, we are nothing less than perfectionists, and the best way to enjoy anything for us comes at least a little bit in knowing how to do it flawlessly. For the first in our official How To series, Editor-in-Chief Olivia Gündüz-Willemin talks candles, and how to burn them.
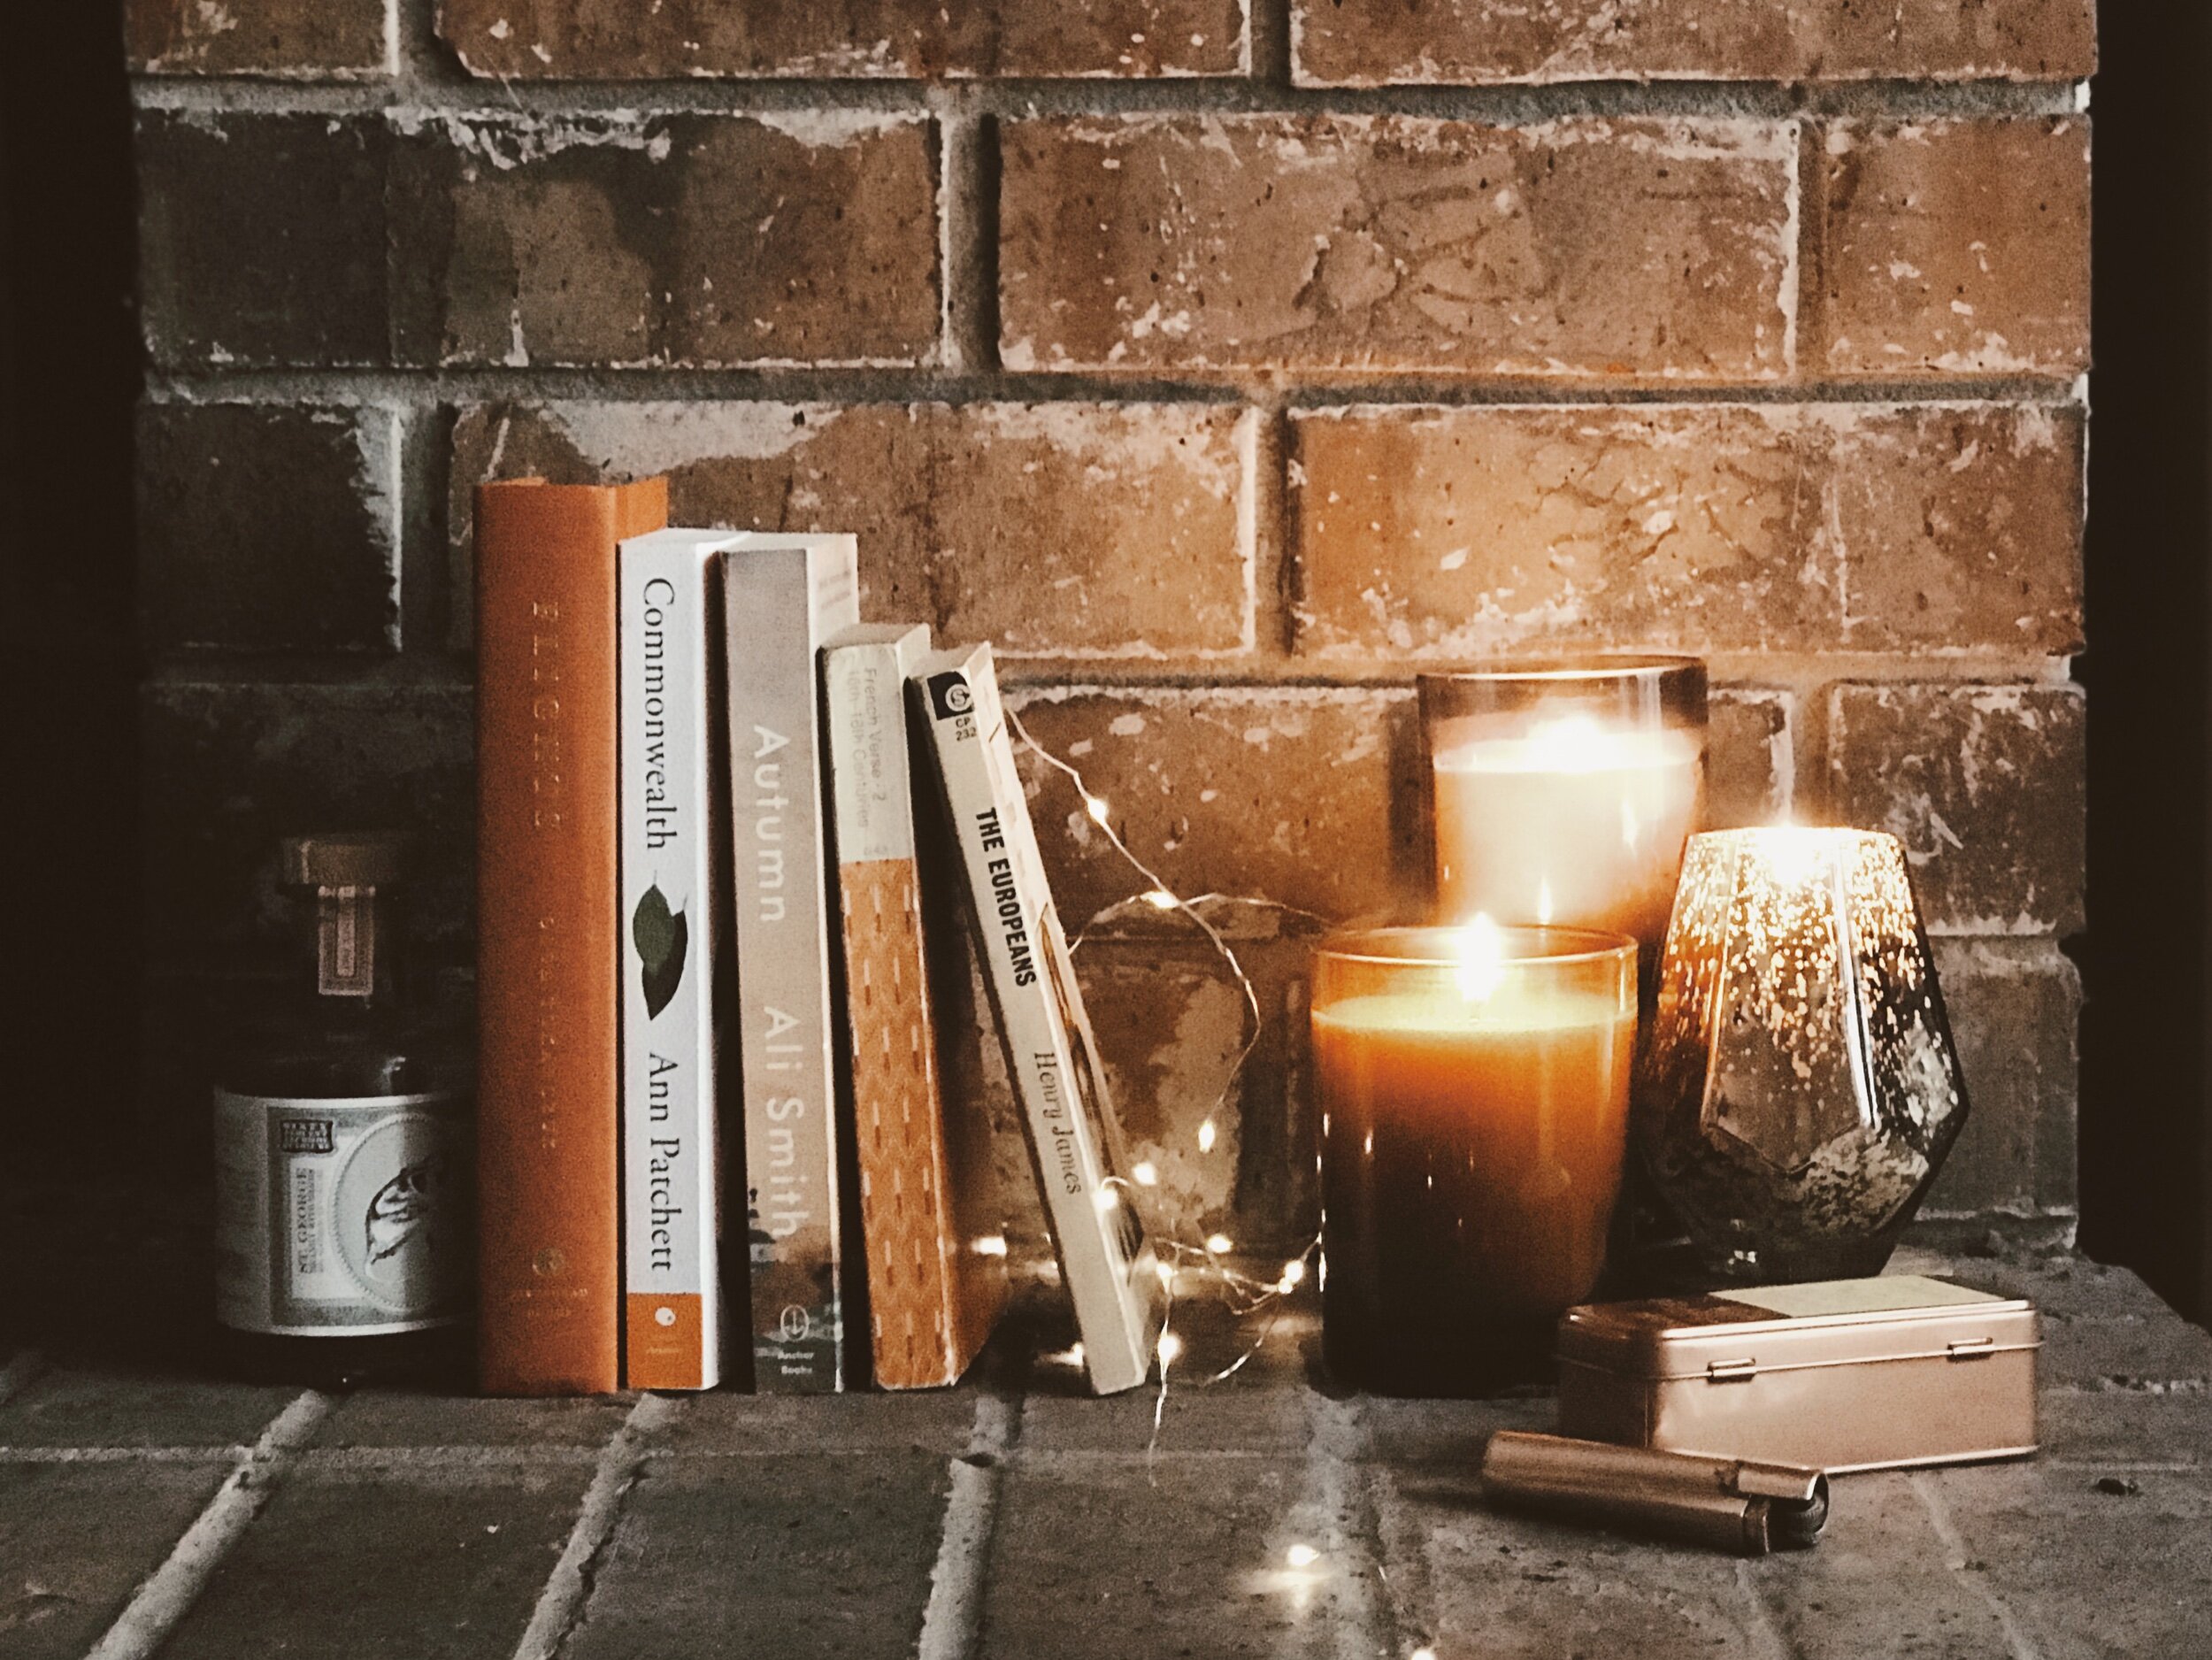
Photo by Raquel Reyes. For visual purposes only.
Burning candles is an art. And it’s an art well worth mastering.
At this time of year, candles might be the single most comforting object you can bring into your life. In their most basic form, they bring light to wherever you are. You can group them with tapers in the middle of your dinner table or on a window sill or even in your otherwise empty and unused fireplace. They create ambiance. They relieve anxiety. They make any and every place cozier and more magical with their simple presence. And if you so wish, they can bring whatever scent you choose into your home.
Poorly lit and poorly maintained however, they can be a mess and even a fire hazard. It’s important to take care of candles as you burn them to make the most of them but also to keep things safe. These are a few of our favorite candle burning tips.
Preparation & Maintenance
Place candles about 10 cm or 3 inches apart. Burning them too close together can be a fire hazard.
Keep windows shut and any kinds of fans off when burning a candle. Similarly, keep curtains, books, and anything flammable away from the candle. Burn on a fire safe surface, etc. I like to burn my candles on a glass surface or place them on a dish or separate object first.
Trim your wicks, including the moment before you light the candle for the first time. Seriously. If you don’t, the continuing flames cause the wick to mushroom, which can not only break and fall into your wax but also sends ash into the air, which creates more fire danger. Overall, this tampers with the smell of the candle, and just contaminates everything around it. (Recommended length for a wick is 6mm or ¼ inch, and do this anytime the candle is completely cooled off or just before lighting again.)
Clean any debris left over from the last time you burned the candle. When the wick mushrooms (a little if you trim regularly, a lot if you don’t), pieces of it will fall into the wax while it burns, which again, tampers with the smell of that candle you paid so much for. Plus, it looks unpleasant and is kind of setting you up for failure. Kind of like trying to cook a gourmet meal in an unwashed dish. Shake out the debris if it falls while trimming the wick before lighting so there is no melted wax, and carefully remove any that have fallen in while burning only after extinguishing the flame. If you have a dedicated tool for it, use it to get out the debris, though I can understand anyone who would see this as a luxury. Personally, I stick the back end of a used but long match in there and just get it out. Raquel uses a silver bar spoon she picked up for a few dollars antique shopping.
Clean your containers! If you’ve scorched the side of a container or ash flies onto the jar, wipe it down before lighting it again. Water and a wet cloth (or paper towel) will do, though be sure to pick up any leftover moisture with a dry towel to prevent water mixing in and tainting your wax when you go to light again.
Lighting
Use long matches! Forget the kind you have laying around from restaurants and the like. Get the proper kind. It’ll be worth it, safer, and you’ll risk burning yourself less when that stubborn wick won’t light.
Pivot the candle when lighting if it’s in a jar! If the candle you’re lighting is in a jar of any kind, pivot the jar when lighting the candle so you don’t burn yourself… or the jar! I once didn’t when lighting a Rifle Paper Co. candle in my early candle days, and it scorched the side of the ceramic container, tampering with the smell.
The first time you light a new candle, allow it to burn long enough that the wax melts all the way to the edges of the candle, especially if it is in a jar or container. Wax has memory, and if you don’t allow it to melt all the way the first time, then it never will (or you’ll have a hell of a time trying to get it to) and you’ll have an impressive tunnel to deal with. Sometimes this will take several hours.
Never light a candle for more than specified. It can vary by candle and size, but the general rule is around three hours. They say it’s dangerous to go longer – flames get too hot, too high, and things mushroom, creating more of a fire hazard – but I’ve never experimented with it myself. If you decide to risk it, make sure to stay close and never touch a lit candle near the flame or the melted wax. In case of an emergency, extinguish your candle.
Extinguishing
Don’t blow out your candles. The best way to extinguish a candle is to cut off its oxygen supply. You can use a specific tool (a candle snuffer), a flat plate, or a heat proof lid if it came with one. If using the lid don’t secure it just yet.
Once the flame is extinguished and the smoke has cleared (this should only take a few seconds), place the lid on your candle promptly , as this will help the wax to dry and keep level. Making sure the smoke has cleared first will ensure that it doesn't get absorbed by the wax, as this will change the smell (and color) in whatever amount of wax is still liquid.

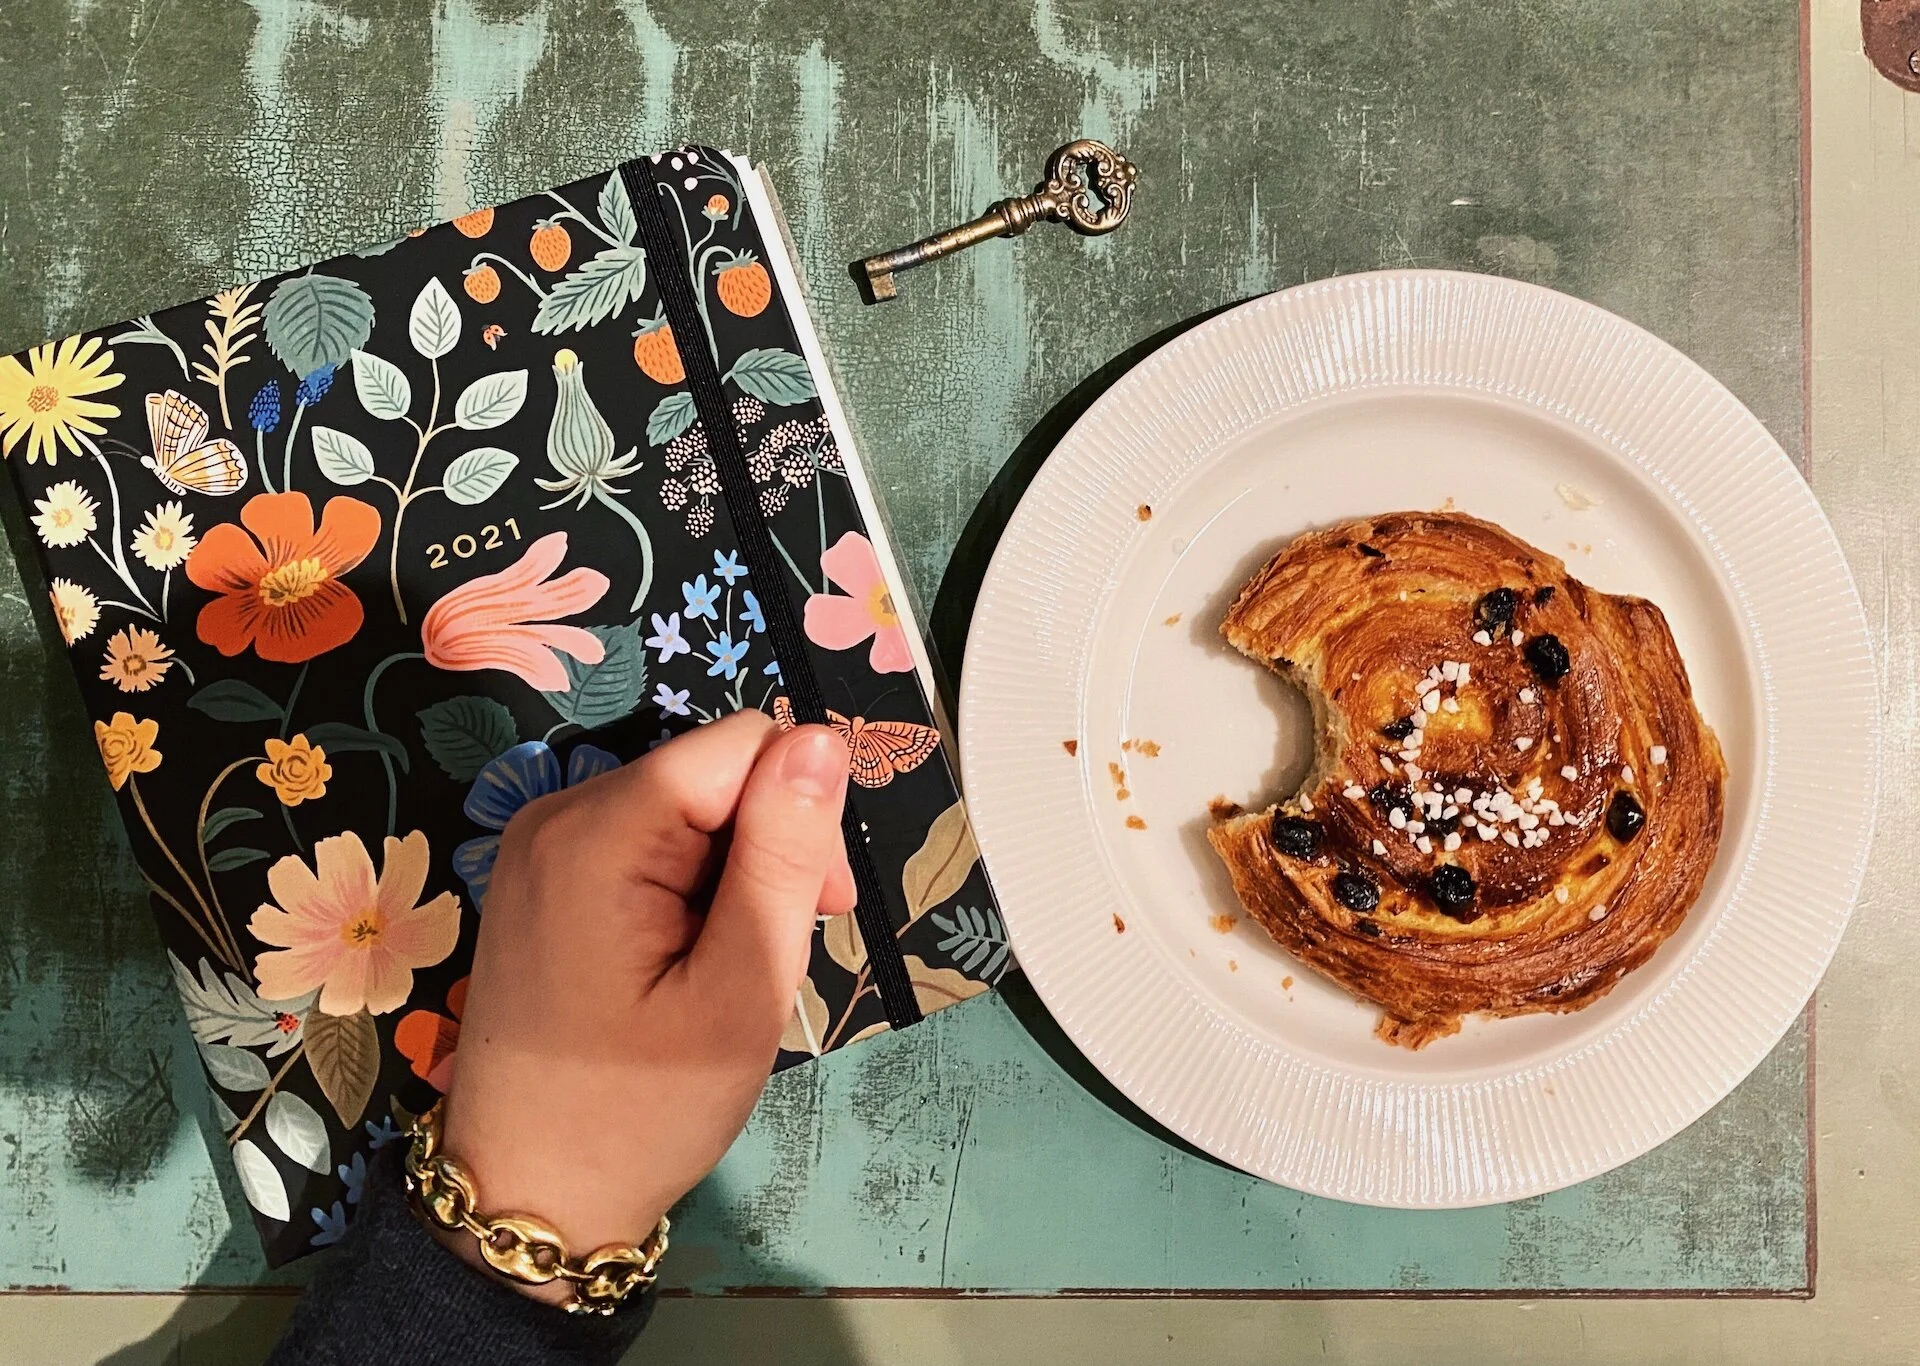
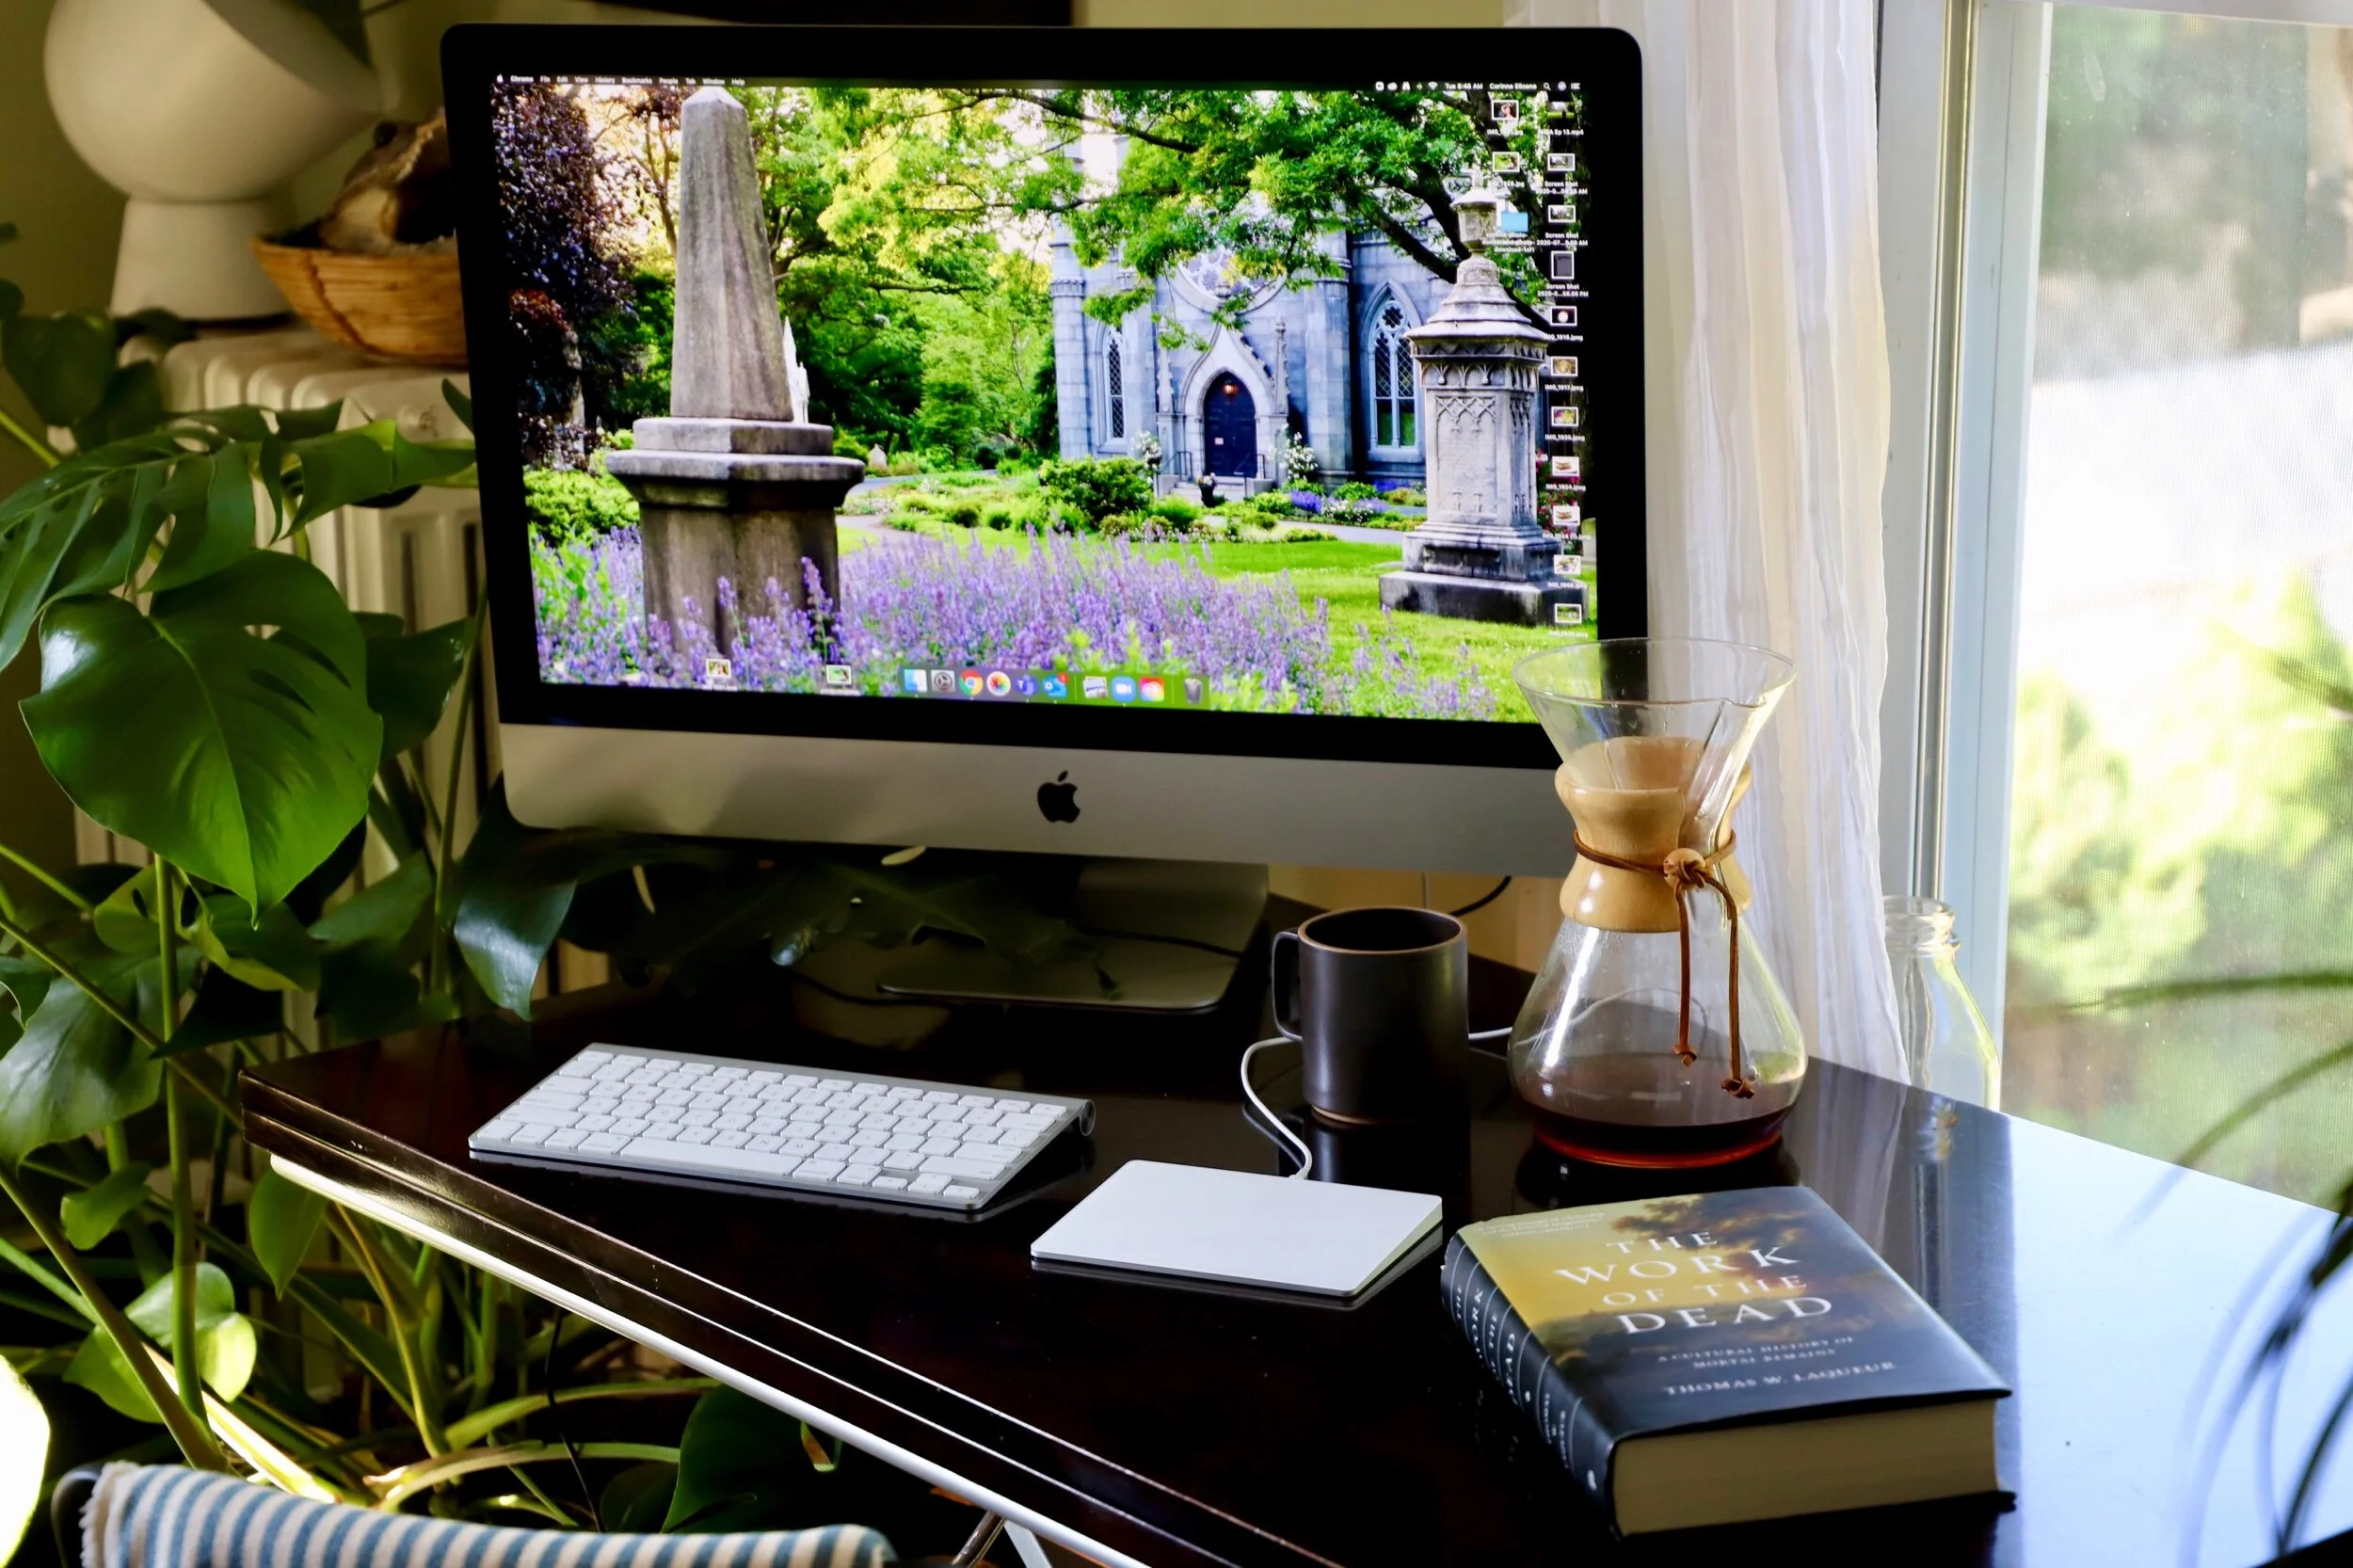
Photo by Raquel Reyes.
Bonus: How to Clean Out Your Candle Container
You’ve finished your candle! Hurray! But there’s a bit of wax left at the bottom or on the sides of the candle and you’d like to use the container for something else. What to do?
Boil a pot of water and carefully pour it into the candle contained, leaving some room at the top. The remaining wax will float to the top, and the wick will detach. Allow the water to cool and the wax to garden. Once cool, break the remaining wax and remove it. The container should be completely clear of wax at this point. Wash the container thoroughly and use as desired!
Alternatively, starting with a fully cooled candle, place it in the freezer for the night or just a couple of hours, constricting the wax from the container. Afterward, carefully scrape the leftover wax with the dull side of a (dedicated — don't use this on toast later) butter knife. Wash thoroughly.
If any wax residue still remains after cleaning, with the candle at room temperature on a heat proof surface, aim a blow dryer on low into the container for about a minute at a time, wiping off as much residue as possible between blasts until the container is completely clean.
Olivia Gündüz-Willemin is Editor-in-Chief of The Attic on Eighth. She is dedicated to reading her way through the world and trying to stay as calm as possible.


The five things we’re doing to make the most of February 2021 to reconnect with both ourselves and our loved ones after a long winter.